Audio Utilities
The MLTK offers several utilities to aid the development of audio classification models:
Audio Classification Utility - This allows for classifying real-time audio using a development board’s or PC’s microphone
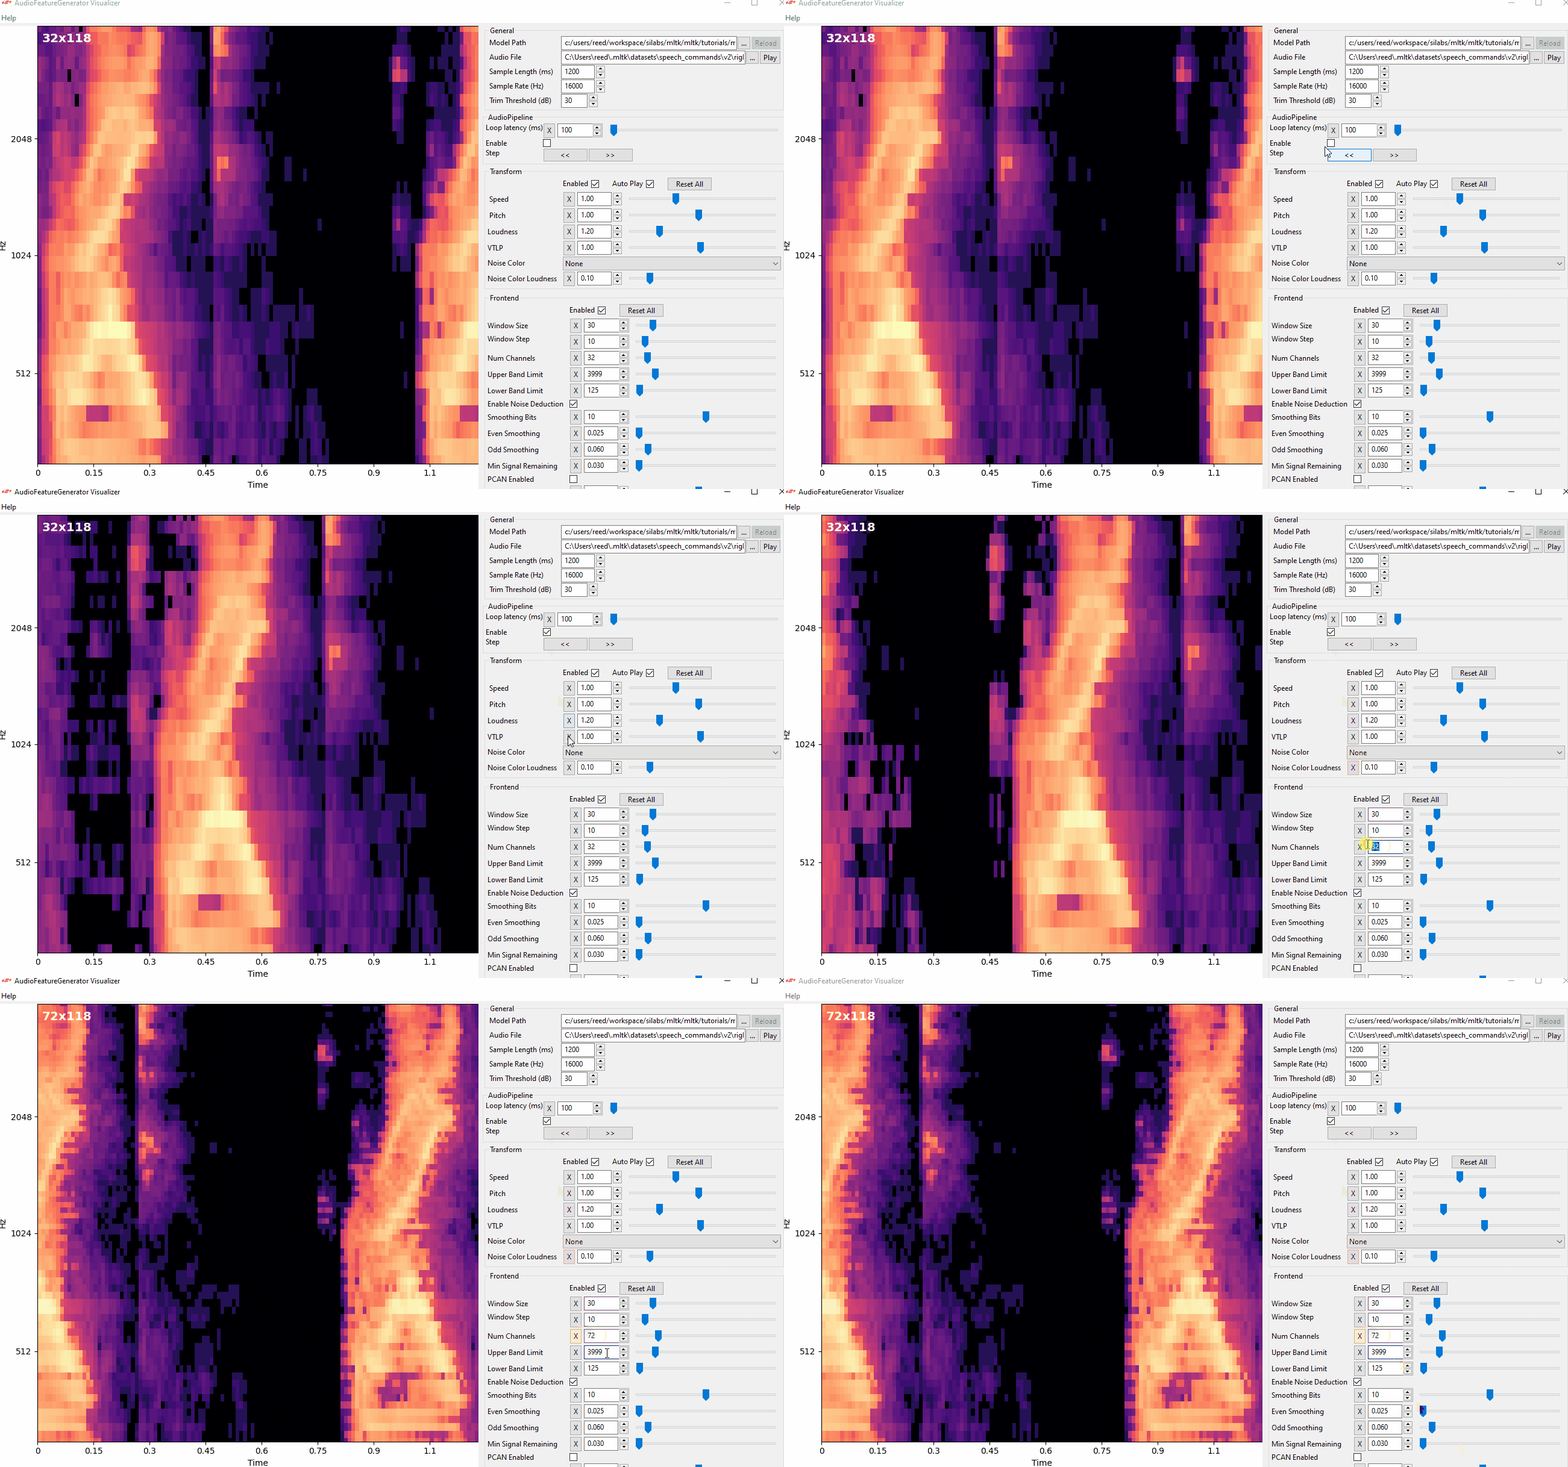
Audio Visualization Utility - This allows for visualizing the spectrograms generated by the Audio Feature Generator
Synthetic Audio Dataset Generator - This allows for generating datasets with custom keywords using synthetically generated data
The Audio Classification Utility and Audio Visualization Utility depend on the Audio Feature Generator for converting audio signals into spectrograms.
A common usecase of audio classification models is “keyword spotting”.
Refer to the Keyword Spotting Overview for more
details on how spectrograms are used to detect keywords in streaming audio.
Refer to the Keyword Spotting Tutorial for a complete guide on how to use the MLTK to create an audio classification ML model.
Audio Classification Utility
The audio classification utility is a complete keyword spotting application.
It features:
Ability to classify real-time microphone audio and print results to terminal
Support for running on an embedded device or Windows/Linux
Ability to record the microphone audio
Ability to dump spectrograms generated by the Audio Feature Generator
This utility works by executing a pre-built audio_classifier application.
The basic flow of this application is:
Microphone -> AudioFeatureGenerator -> ML Model -> Command Recognizer -> Local Terminal
Refer to the classify_audio command’s --help output for more details:
mltk classify_audio --help
The following are examples of using the classify_audio command:
Classify using PC Microphone
Use the pre-trained ML model keyword_spotting_on_off_v3.py
Use your local PC’s microphone
Verbosely print the ML model’s classification results to the terminal
Set the detection threshold to 150 or 255 (a lower threshold means easier keyword detections with higher false-positives)
mltk classify_audio keyword_spotting_on_off_v3 --verbose --threshold 150
Say the keywords “on” or “off” into your PC’s microphone.
Classify using PC Microphone with simulated latency
Processing should occur much faster on a PC compared to an embedded device.
We can add an artificial delay to simulate the delay that would occur on an embedded device.
Refer to the Keyword Spotting Overview for why this matters.
Use the pre-trained ML model keyword_spotting_mobilenetv2.py
Use your local PC’s microphone
Verbosely print the ML model’s classification results to the terminal
Simulate the audio loop latency of 200ms
mltk classify_audio keyword_spotting_mobilenetv2 --verbose --latency 200
Say the keywords: left, right, up, down, stop, go into your PC’s microphone.
Classify using PC Microphone and record audio
We can record the audio captured by the PC’s microphone.
mltk classify_audio keyword_spotting_mobilenetv2 --dump-audio
After running the command for awhile, issue CTRL+C.
A .wav file will be generated at:
<USER HOME Directory>/.mltk/audio_classify_recordings/<windows/linux>/audio/dump_audio.wav
Classify using PC Microphone and dump spectrograms
We can dump the spectrograms generated by the Audio Feature Generator.
mltk classify_audio keyword_spotting_mobilenetv2 --dump-spectrograms
After running the command for awhile, issue CTRL+C.
A .avi video and corresponding .jpg images will be generated at:
<USER HOME Directory>/.mltk/audio_classify_recordings/<windows/linux>/spectrograms
Classify using development board’s microphone
Assuming you have a supported development board, you can also use the board’s microphone to classify audio on the development board. i.e. The entire audio classification (Audio processing + ML) runs on the embedded device.
Use the pre-trained ML model keyword_spotting_on_off_v3.py
Use the connected development board
Verbosely print the ML model’s classification results to the terminal
Set the detection threshold to 150 or 255 (a lower threshold means easier keyword detections with higher false-positives)
mltk classify_audio keyword_spotting_on_off_v3 --device --verbose --threshold 150
Say the keywords “on” or “off” into dev board’s microphone.
If a keyword is detected, the red LED should turn on.
If activity is detected, the green LED should turn on.
Additionally, serial logs from the development board should print to the command terminal.
Record audio from development board’s microphone
We can record the audio captured by the development board’s microphone.
mltk classify_audio keyword_spotting_on_off_v3 --device --dump-audio
After running the command for awhile, issue CTRL+C.
A .wav file will be generated at:
<USER HOME Directory>/.mltk/audio_classify_recordings/<platform>/audio/dump_audio.wav
NOTE: Audio classification is not supported while recording the audio.
Dump spectrograms generated by development board
We can dump the spectrograms generated by the Audio Feature Generator running on the embedded device.
mltk classify_audio keyword_spotting_on_off_v3 --device --dump-spectrograms
After running the command for awhile, issue CTRL+C.
A .avi video and corresponding .jpg images will be generated at:
<USER HOME Directory>/.mltk/audio_classify_recordings/<platform>/spectrograms
NOTE: Audio classification is not supported while dumping the spectrograms.
Update AudioFeatureGenerator parameters
The Audio Feature Generator’s parameters are embedded into the .tflite model file
and loaded by the audio_classifier application at runtime.
See the Model Parameters documentation for more details.
We can update these model parameters using the update_params command
then re-run the audio_classifier command to generate different spectrograms.
e.g. To disable the AudioFeatureGenerator’s noise reduction module:
# Update the fe.noise_reduction_enable parameter
mltk update_params keyword_spotting_on_off_v3 fe.noise_reduction_enable=0

# Dump the spectrograms generated by the embedded device
mltk classify_audio keyword_spotting_on_off_v3 --device --dump-spectrograms
NOTE: The process is only recommended for experimentation. The ML model should be re-trained after adjusting the Audio Feature Generator’s settings.
Audio Visualization Utility
The Audio Visualizer Utility provides a graphical interface to the Audio Feature Generator. It allows for adjusting the various spectrogram settings and seeing how the resulting spectrogram is affected in real-time.
To use the Audio Visualizer utility, issue the command:
mltk view_audio
NOTE: Internally, this will install the wxPython Python package.

Synthetic Audio Dataset Generator
The MLTK features the AudioDatasetGenerator Python package. This allows for generating custom keyword audio datasets using synthetically generated data.
The dataset samples are generated using the Text-to-Speech (TTS) services provided by:
Refer to the Synthetic Audio Dataset Generation tutorial for more information.