Running the Matter Demo over Wi-Fi for SiWx917 SoC
Flashing Images/Binaries on the SiWx917 SoC platform using Ozone or Simplicity Studio and Simplicity Commander
Note: 1.SiWx917 SoC device support is available in the latest Simplicity Studio and Simplicity Commander(version 1v15p3). To flash the TA Firmware/Matter application on SiWx917 SoC, - Convert the .s37 file into .rps file using the below command,
      `commander rps create <file-name>.rps --app <file-name>.s37`
  - Flash to the device using,

      `commander rps load <file-name>.rps`
Official support for SiWx917 SoC device is not yet available in the Ozone Debugger, but can be configured - Ozone Environment Setup for SiWx917 SoC.
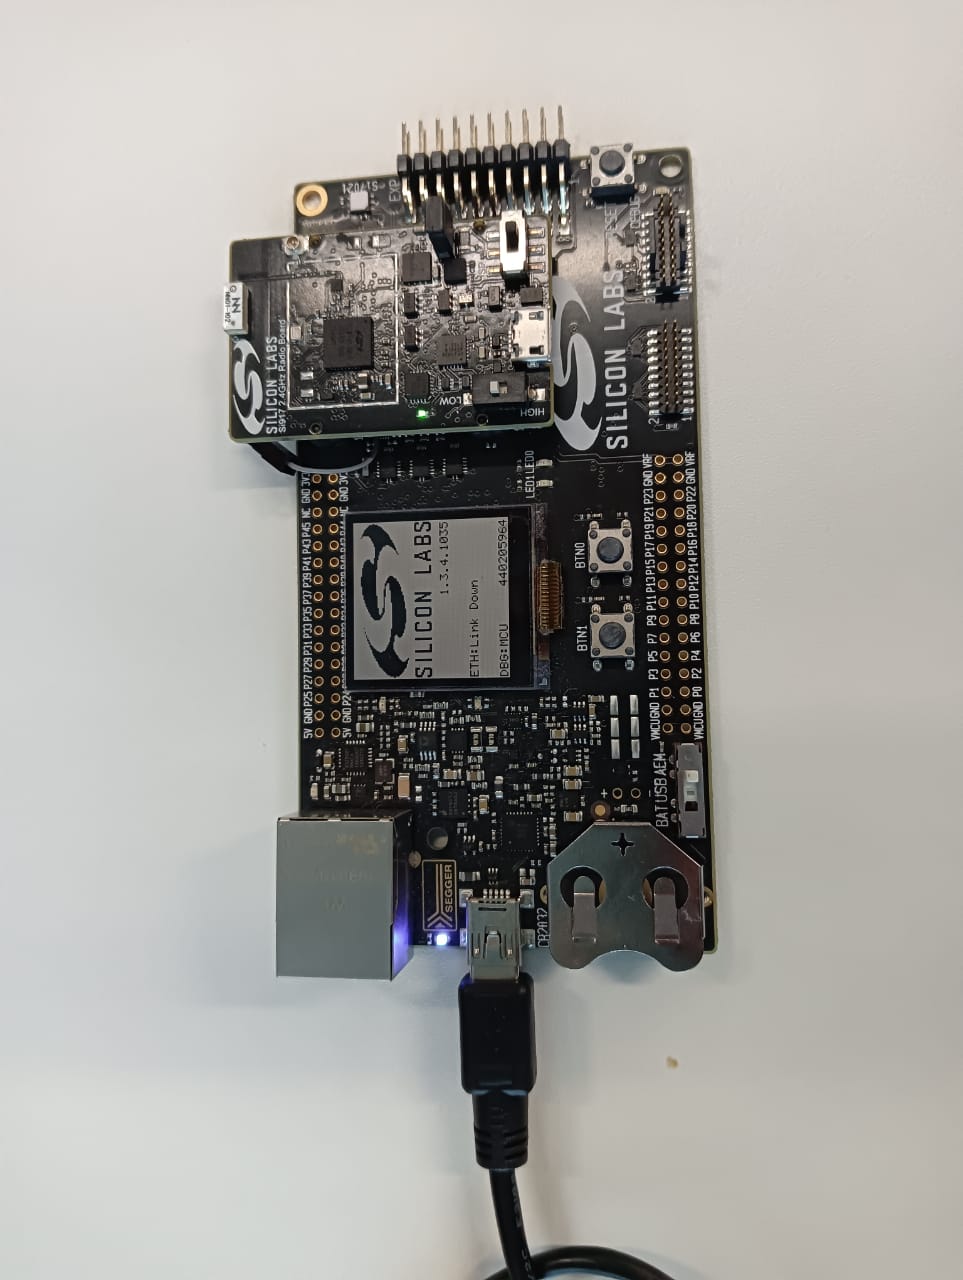
917 SoC switch positions: Left switch should be on the OFF/LOW, and right switch should be on the NORMAL side.
Flashing Images/Binaries on the SiWx917 SoC platform using Simplicity Studio
SiWx917 SoC boards supported:
BRD4325B - Dual Flash BoardsBRD4325C & BRD4325G - common flash boards
Plug the WSTK and SiWx917 radio board into the laptop.
For updating SiWx917 SoC Firmware, Refer Firmware Update.
Go to Demo Execution - Commissioning a SiWx917 SoC Device using chip-tool for Linux section, to run the demo with SiWx917 SoC
Alternate flashing methods for SiWx917 SoC without Simplicity Studio
Flashing the Matter application using commander tool
Download the Pre-built images for SiWx917 SoC Matter Application (_isp.bin/.rps file) from Matter Artifacts page.
Go to Demo Execution - Commissioning a SiWx917 SoC Device using chip-tool for Linux section, to run the demo with SiWx917 SoC
Flashing the Matter application using Ozone Debugger
Download the Pre-built images for SiWx917 SoC Matter Application (.out file) from Matter Artifacts page
Go to Demo Execution - Commissioning a SiWx917 SoC Device using chip-tool for Linux section, to run the demo with SiWx917 SoC
Note:
SiWx917 SoC Common flash boards are not supported by Ozone.
To enable RTT logs, download JlinkDevices.xml file from the Matter Artifacts page and install in the Jlink installation path.
Demo Execution - Commissioning a SiWx917 SoC Device using chip-tool for Linux
Note: Commissioning can be done using chip-tool running either on Linux or Raspberry Pi.
Get the SSID and PSK of the Wi-Fi network (WPA2 - Security) you are connected to.
Run the following:
$ cd $MATTER_WORKDIR/matter
Commissioning Command:
$ out/standalone/chip-tool pairing ble-wifi 1122 $SSID $PSK 20202021 3840
Note:
The Node ID used here is
1122. This will be used in future commands.The below given steps (3, 4, 5) are for Lighting-app, use app specific commands if you are using any other application.
To turn on the LED on the SiWx917:
$ out/standalone/chip-tool onoff on 1122 1
To turn off the LED on the SiWx917:
$ out/standalone/chip-tool onoff off 1122 1
The updated on/off state may be verified with the following command:
$ out/standalone/chip-tool onoff read on-off 1122 1
If you are having difficulty getting the chip-tool to commission the device successfully, refer to the troubleshooting information on the Running the Matter Demos over Wi-Fi on EFR32 hosts page.
As the device remembers the Access Point credentials given for commissioning, if you want to run the demo multiple times, do a Factory Reset.
The commissioning command mentioned above does the following:
chip-tool scans BLE and locates the Silicon Labs device that uses the specified discriminator
Sends the Wi-Fi SSID and Passkey
The Silicon Labs device will join the Wi-Fi network and get an IP address. It then starts providing mDNS records on IPv4 and IPv6
chip-tool then locates the device over Wi-Fi and establishes operational certificates
Future communications (tests) will then happen over Wi-Fi